The Designest may receive compensation from companies, products, and services featured in this publication. For more details, please refer to our Affiliate Disclosure page.
Preparing the Brushes
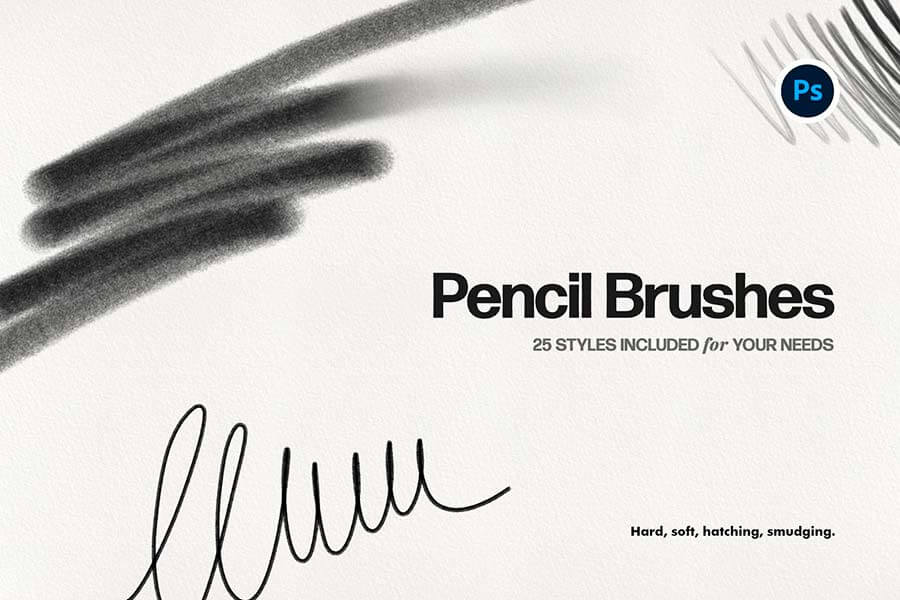
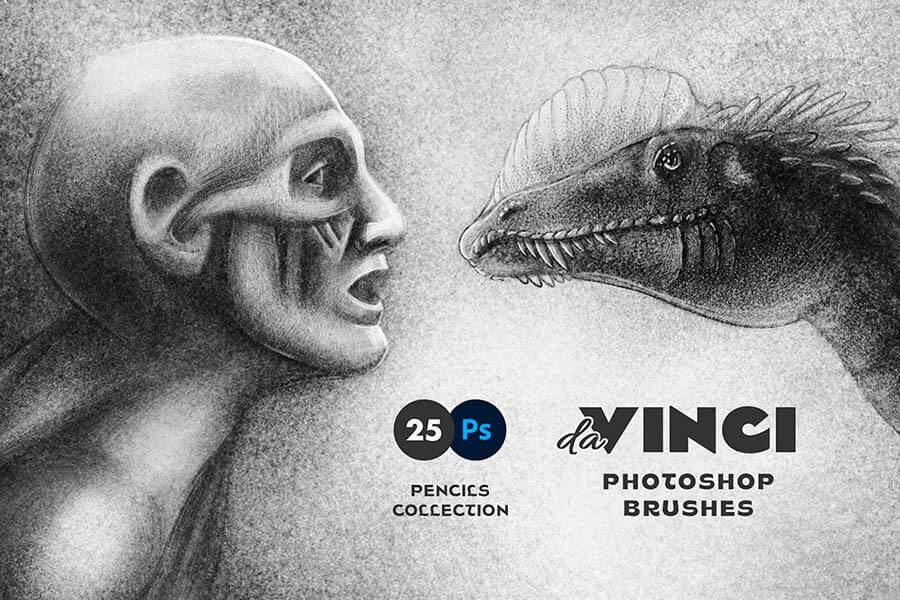
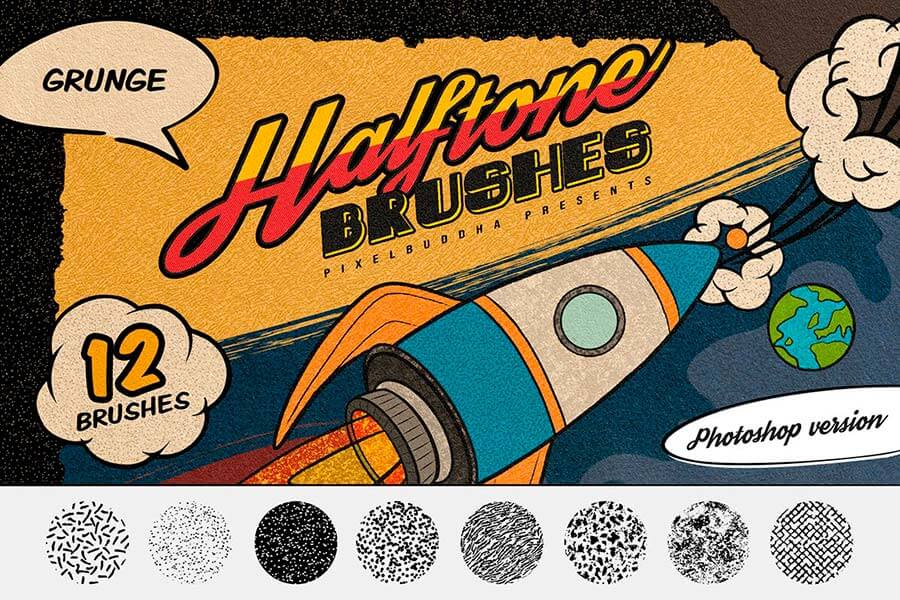
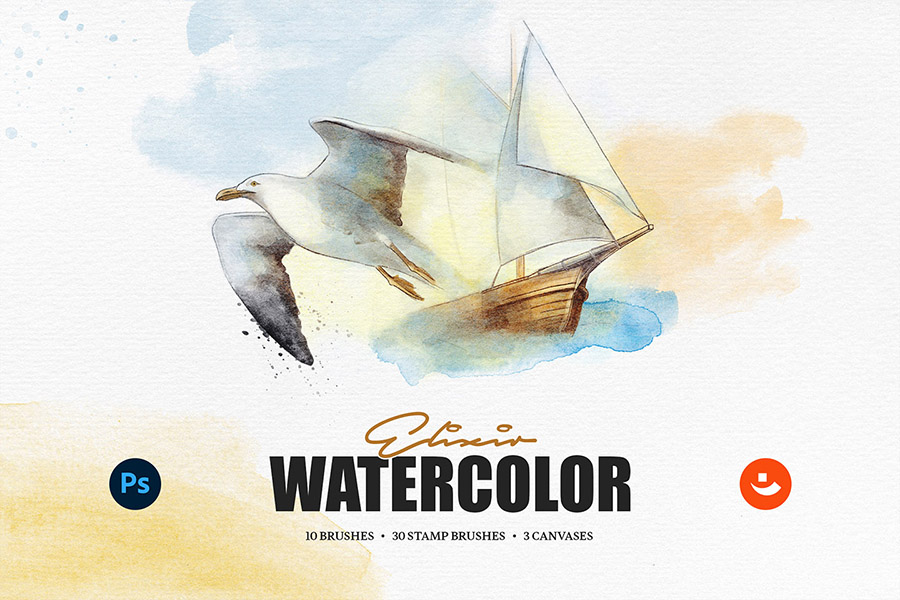
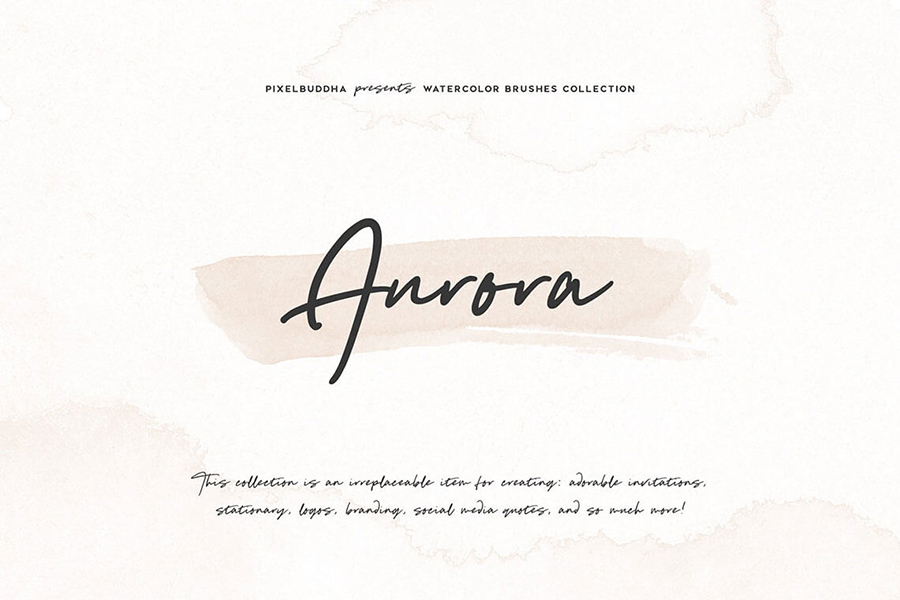
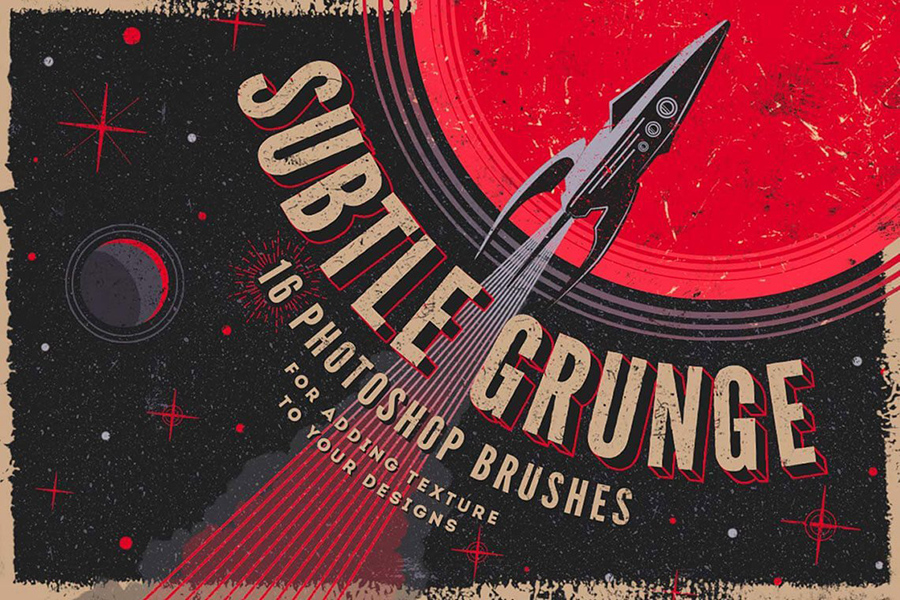
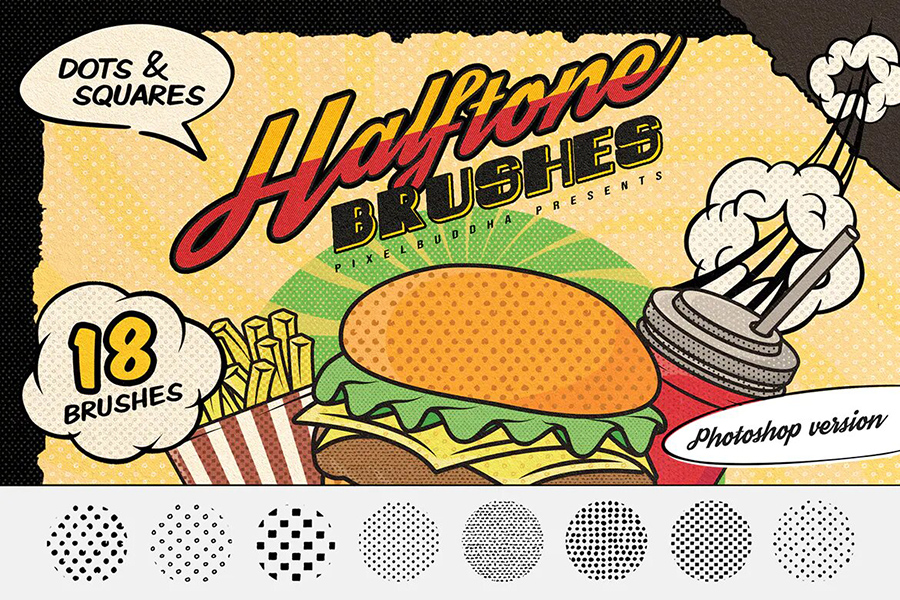
First of all, it’s essential to choose suitable Photoshop brushes for your artistic project, depending on the style of a visualized result. For instance, if you’re working on a retro, grunge piece, then distressed textures and halftones would be a superb choice. By the way, keep in mind that any drawing starts with an outlined sketch, and it’s necessary to obtain a set of essential pencil brushes to have a vast choice of graphite strokes of a different style. Last but not least, it’s better to find some free Photoshop brushes first to figure out how they work, then go on a full-scale shopping for digital assets!
All the Adobe Photoshop brushes come in .abr format, which means they can be opened in software supporting this format. Aside from Adobe Photoshop, the .abr brush file is easily added to Adobe Photoshop Elements, Affinity, Procreate, Gimp, Corel PaintPro. In this article, we’ll cover installing brushes into Adobe Photoshop only.
How to Install Photoshop Brushes
Installing Photoshop brushes is, actually, a piece of cake! After downloading a Photoshop brush, unzip it to see the .abr file — this one will become your brush tool in a couple of seconds. In order to unpack the .zip file on macOS, left double-click it, the rest will be done automatically. WinRAR should do the trick for Windows users. Concerning the brush installing procedure, it’s universal for both macOS and Windows systems, as these actions take place in the Photoshop window menu, mostly within brushes panel. Everything starts with opening Photoshop, creating a new file, or using the prepared image; then, there are several paths to take in order to add a Photoshop brush, choose any you like!
Step 1. On the left vertical Photoshop panel, you have several icons; we’re going to need the Brush tool menu icon. It’ll eventually trigger the brushes panel.
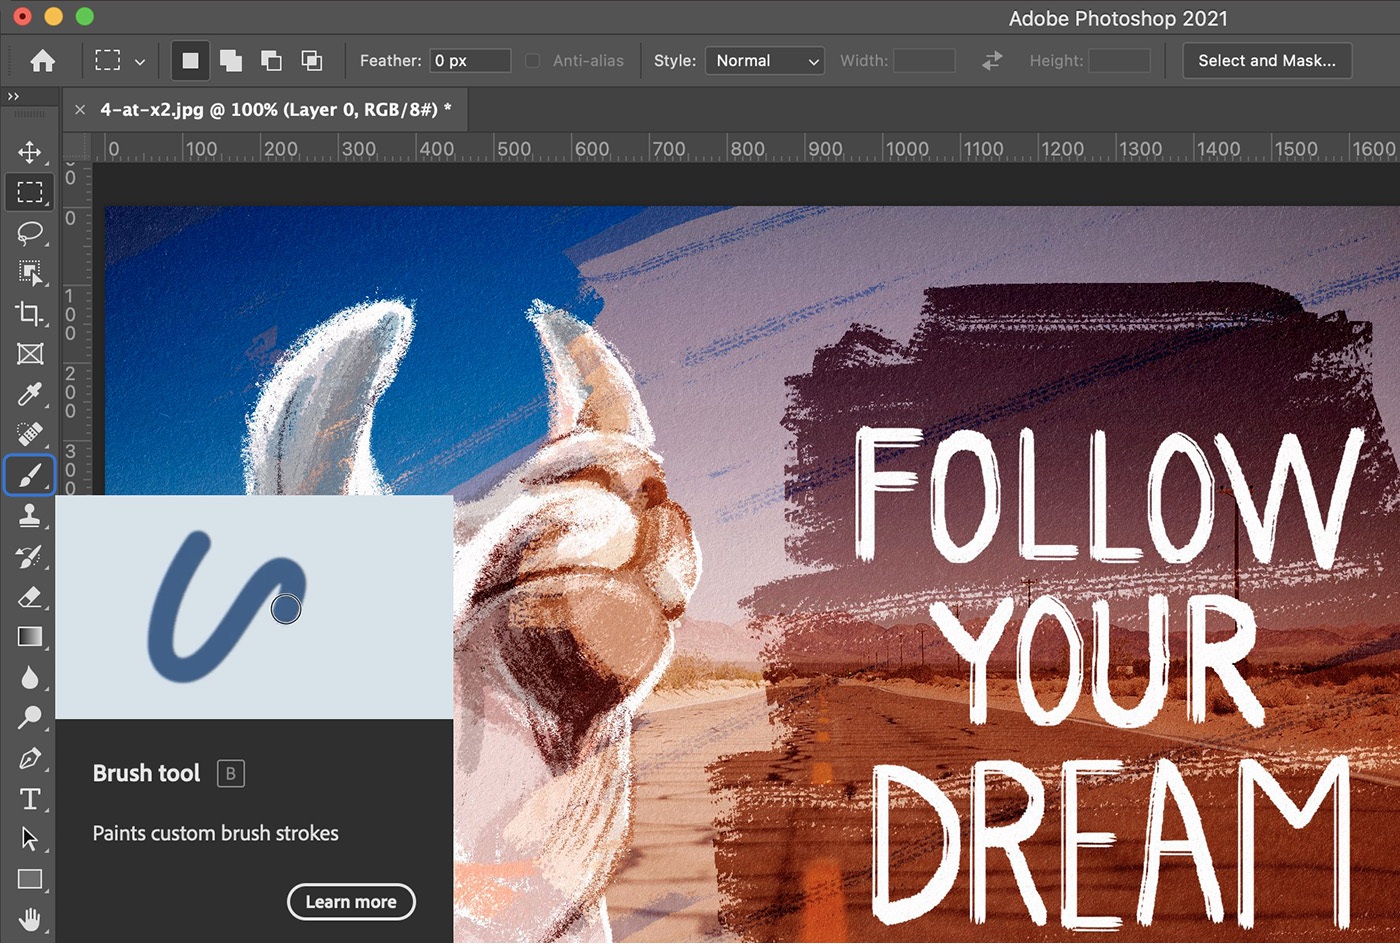
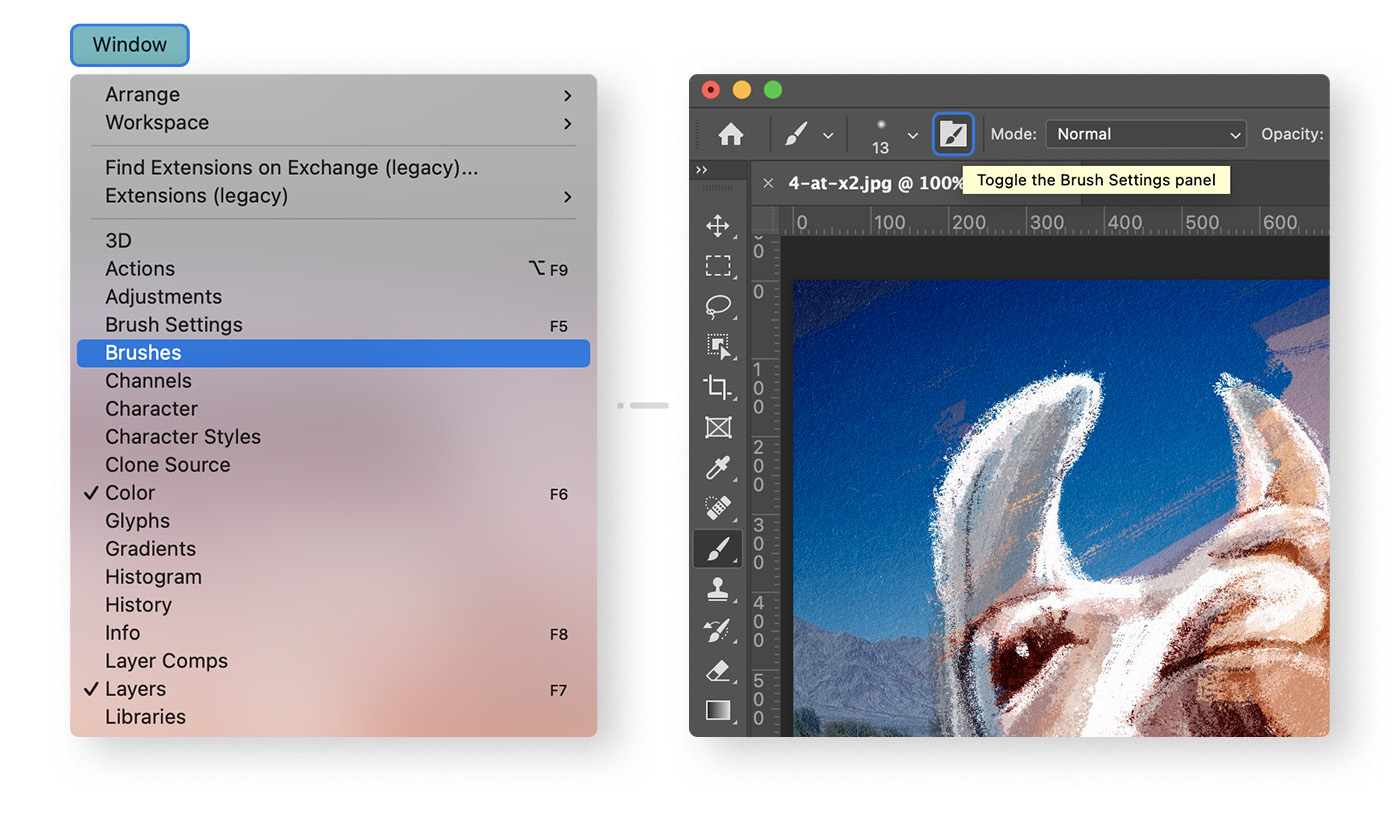
Step 2. To open the required section, you can either press B hotkey or click the Brush tool. Then move up to a little folder with a brush sign on it, called Toggle the Brush settings panel, and click it to open brushes panel. The other variant is to follow Window > Brushes in the upper Photoshop menu.
Step 3. Go to the Brushes tab in the appeared pop-up on the right. It has a little so-called “hamburger menu”— the three-line layered icon you need to press in this brush preset window. Among all the offered options, choose Import brushes.
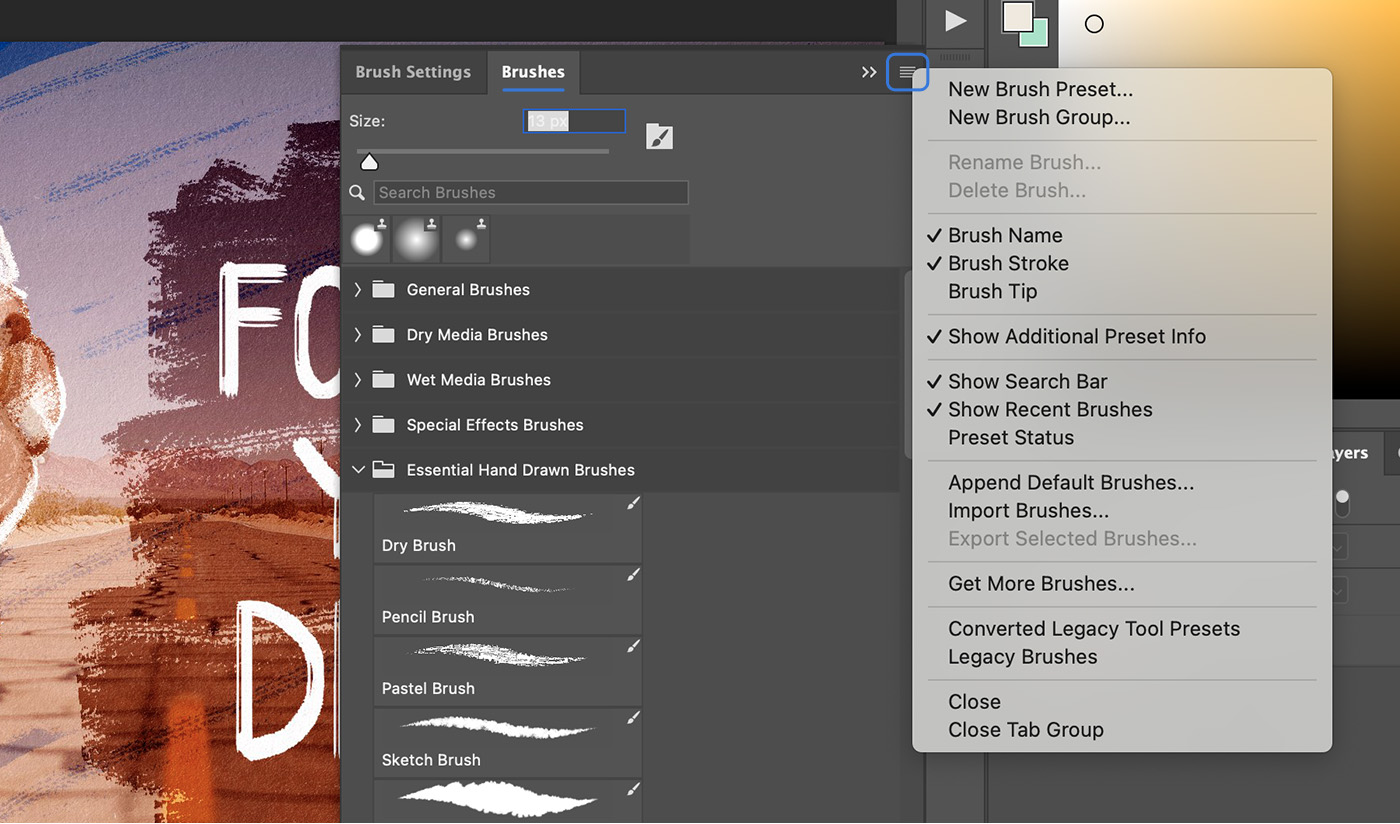
Step 4. Locate the folder where your previously unarchived .abr files are situated. If there are several preset brushes you need to add, hold Ctrl or Cmd and left-click all the items you’re willing to import. All of them will be shown in the Brush menu, so it’s easy to switch between them.
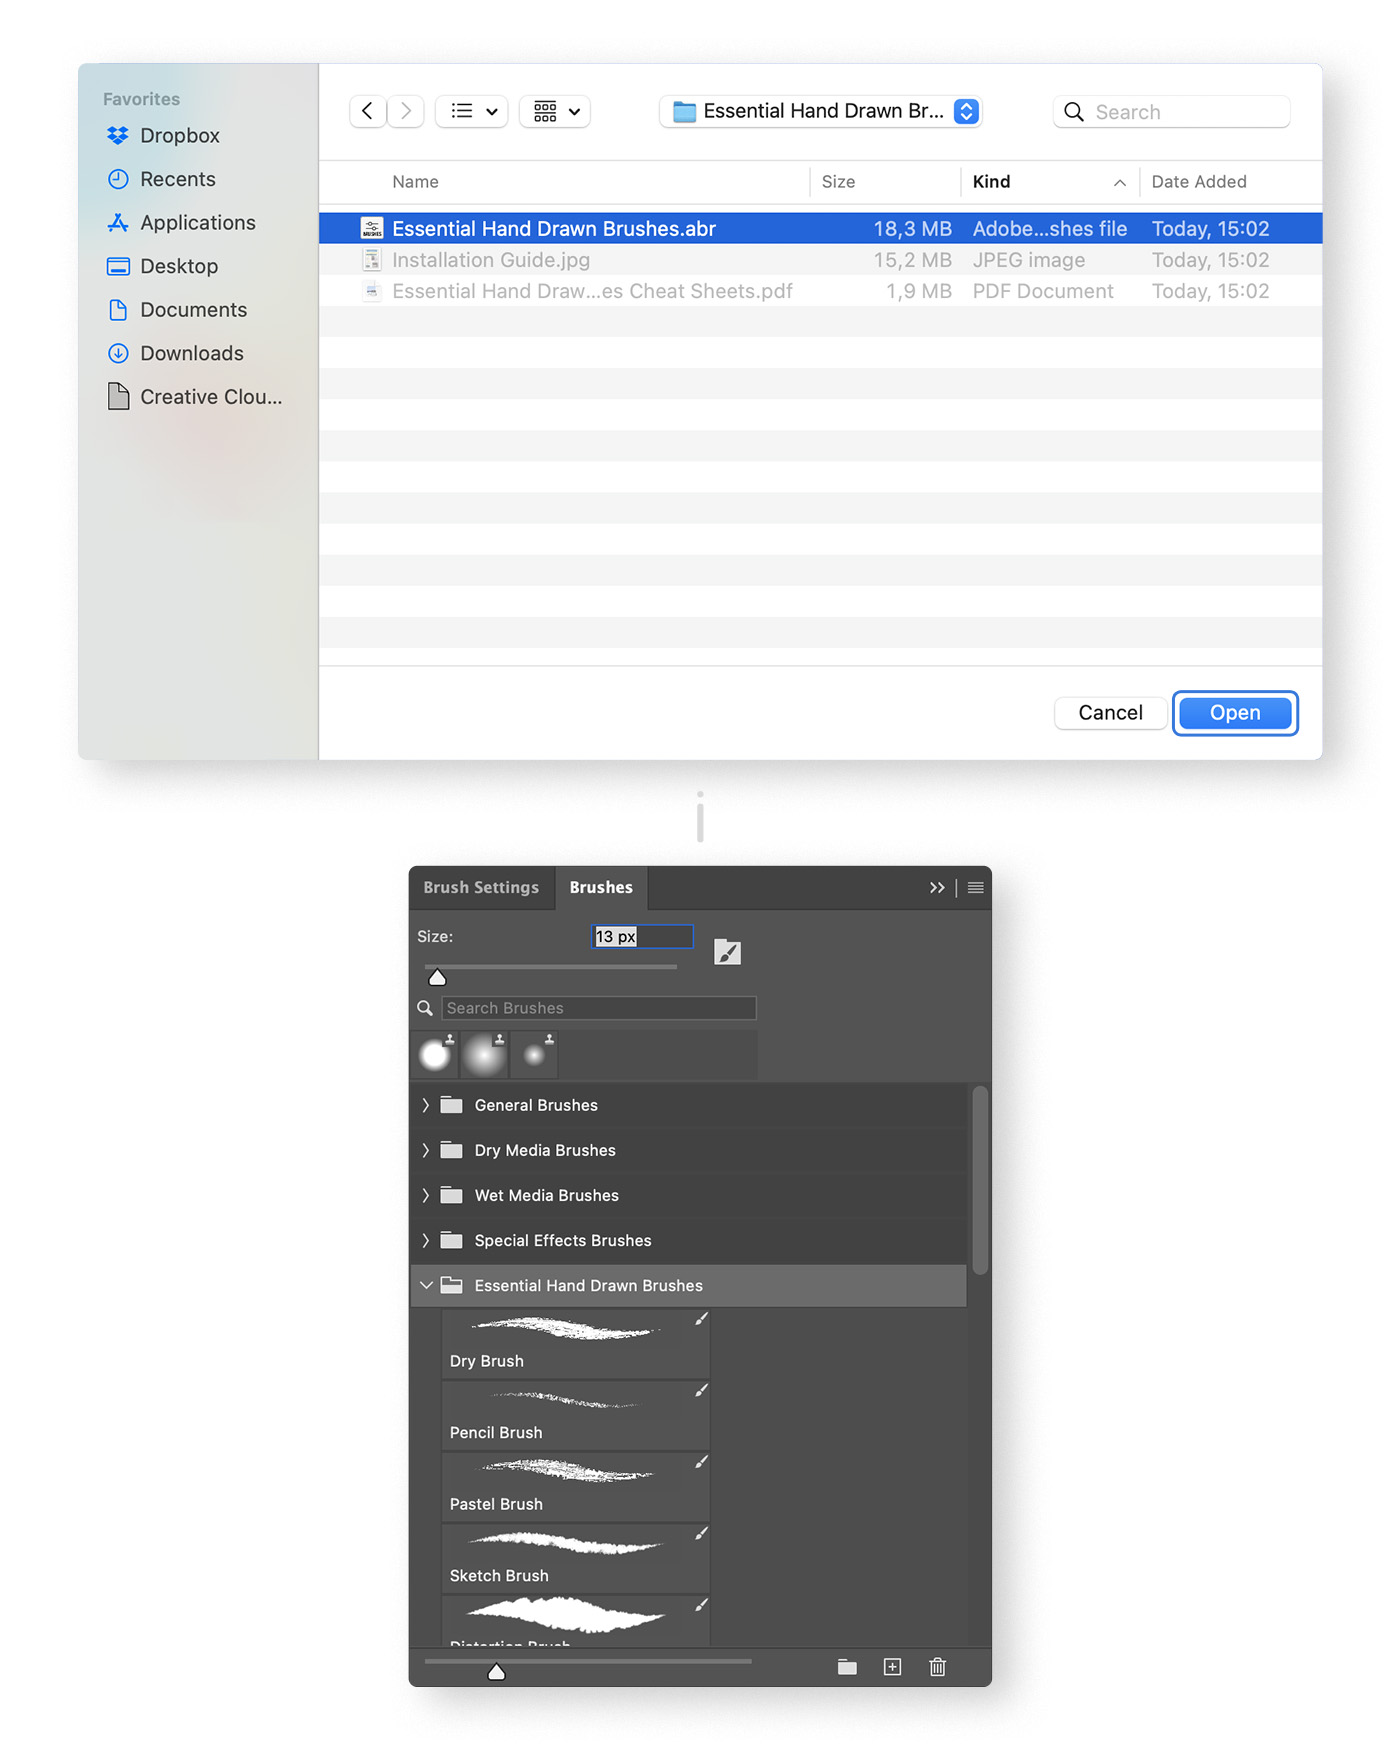
Step 5. The fun part begins: pick any of the added brushes in preset manager and start creating a future masterpiece! Don’t forget to toggle the brush stroke settings in the upper menu: size, hardness, opacity, smoothing, and flow. We’re not going to explain how these features work as the best lesson would be your own practice!
Best Photoshop Brushes
Frequently Asked Questions
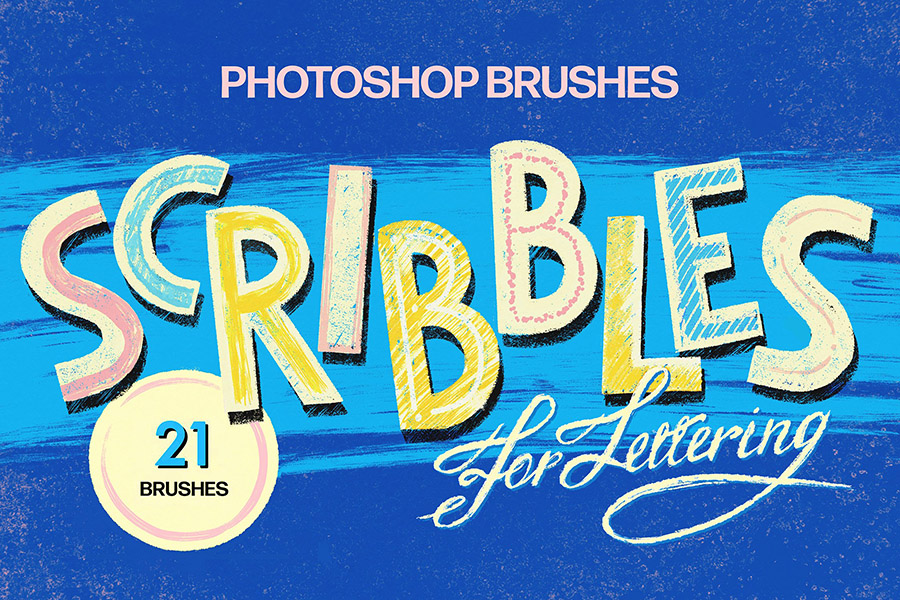
The sphere of use for Photoshop brushes is giant! Creating hand-drawn illustrations, patterns, textures, various elements, and writings. After installing Photoshop brushes, all you have to do is to click with the strokes, leave the trace on your artboard, or drag the cursor around. Adjust the brush’s mode, size, flow, and opacity in the settings.
Photoshop brushes can take the form of any complex presets like scratches, splashes, lines, rough sponge traces, and more. Don’t be afraid to use different Photoshop brushes in one composition — it might turn out into something unexpectedly great!

